
Essential Tips for Successful Mini Split Installation
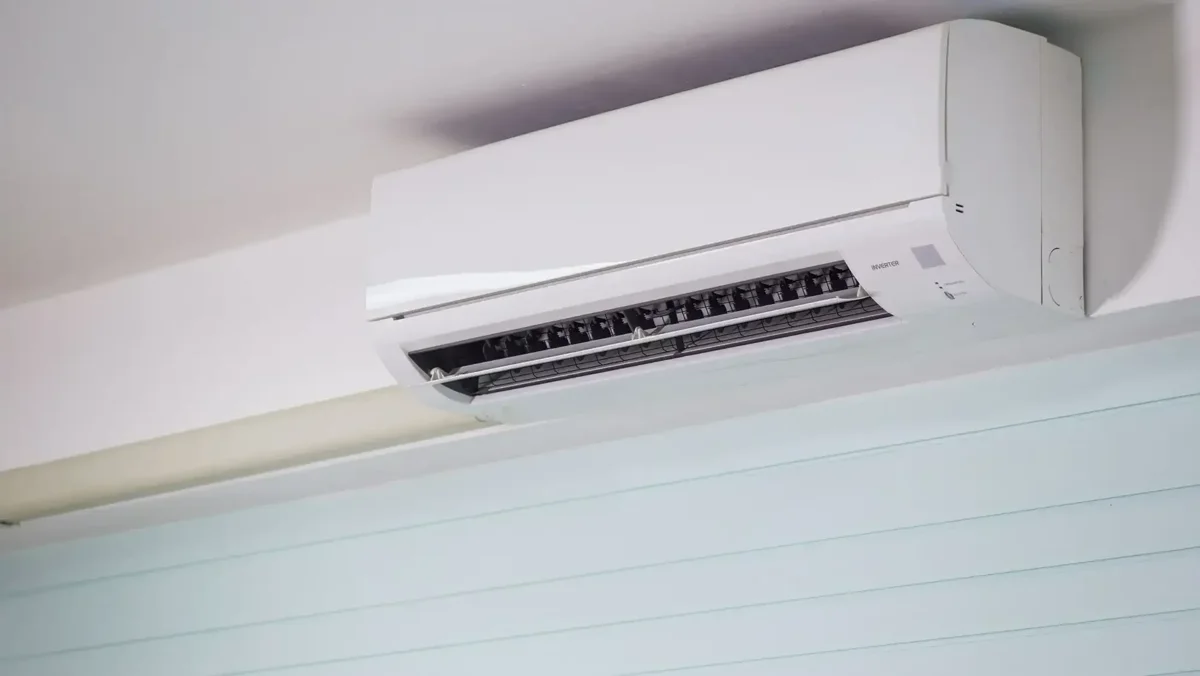
Essential Tips for Successful Mini Split Installation
Mini split systems have become increasingly popular for their efficiency and flexibility in heating and cooling spaces. However, proper installation is crucial to ensure optimal performance and longevity. This article provides essential tips and helpful information for anyone considering mini split installation.
1. Understanding Mini Split Systems
Before diving into the installation process, it is important to understand the components of a mini split system. A typical mini split consists of an outdoor unit, which houses the compressor and condenser, and one or more indoor units that distribute air throughout the space. The two units are connected by refrigerant lines and electrical wiring.
2. Choosing the Right Location
Choosing the right location for both the indoor and outdoor units is critical. The outdoor unit should be placed in a well-ventilated area, away from obstructions that could impede airflow. The indoor units should be installed in locations that allow for optimal air distribution, typically high on walls or ceilings.
3. Preparing for Installation
Before installation, gather all necessary tools and materials, including a level, drill, refrigerant lines, and electrical wiring. Ensure that you have a clear understanding of the installation manual provided by the manufacturer. Familiarize yourself with local building codes and regulations to ensure compliance.
4. Installing the Outdoor Unit
Begin by securing the outdoor unit on a stable platform, ensuring it is level. Use vibration pads to minimize noise and vibrations. Connect the refrigerant lines and electrical wiring according to the manufacturer’s instructions, ensuring all connections are tight and secure.
5. Installing the Indoor Units
For the indoor units, mark the desired location on the wall and drill a hole for the refrigerant lines. Mount the bracket securely and attach the indoor unit. Connect the refrigerant lines and electrical wiring, ensuring proper insulation to prevent energy loss.
6. Testing the System
Once all units are installed, it is essential to test the system. Check for any refrigerant leaks and ensure that the system is functioning correctly. Follow the manufacturer’s guidelines for initial startup and settings.
7. Maintenance Tips
Regular maintenance is key to the longevity of your mini split system. Clean or replace filters regularly, check for refrigerant levels, and ensure that the outdoor unit is free from debris. Schedule professional maintenance at least once a year to keep your system running efficiently.
Conclusion
Mini split installation can be a rewarding project when done correctly. By following these essential tips and understanding the components and requirements of your system, you can ensure a successful installation that provides comfort and efficiency for years to come.






Thank you for posting your blog comment. It will be reviewed and set live soon. If you provided your email then you will be notified of replies to this comment.